
Sub-Zero 690 Refrigerator Not Cooling: Evaporator Replacement in San Mateo
A 20–25-year-old Sub-Zero 690 lost cooling in the fresh-food section. We replaced the leaking evaporator, capillary tube and thermostat, then vacuumed and recharged the system.
Repair at a glance
| City | San Mateo, CA |
|---|---|
| Appliance | Refrigerator |
| Brand & model | Sub-Zero 690 (built-in side-by-side, 600 Series) |
| Date | |
| Customer complaint | The refrigerator section was not cooling, and turning the temperature dial made no difference. The freezer was working normally. |
| Diagnosis | Low pressure on the fresh-food sealed system — a refrigerant leak in the evaporator. We also found the original thermostat had been bypassed by a previous repair, leaving the front dial disconnected. |
| Repair cost | About $2,600 (parts and labor) |
| Warranty | About 1 year on the sealed-system restoration |
| Outcome | Repaired |
What the customer told us
This Sub-Zero 690 built-in side-by-side refrigerator was roughly 20–25 years old. The customer said the refrigerator section had stopped cooling, and adjusting the thermostat dial did not change the temperature at all.
Diagnosis: a refrigerant leak on one of two systems
During the diagnostic visit we confirmed the fresh-food section was running warm while the freezer kept working properly.
Sub-Zero refrigerators of this generation use two separate sealed systems with two compressors — one for the freezer and one for the refrigerator. Pressure on the refrigerator system was low, which points to a refrigerant leak. Evaporator leaks are a fairly common problem on Sub-Zero units after 10, 15 or 20 years of service.
An unexpected find: a bypassed thermostat
Once the customer approved the repair, we opened up the control housing and found why the dial never worked. At some point another technician had wired a different, non-original thermostat inside the housing and left it fixed at one setting. The front temperature dial was simply not connected to anything.
The customer did not know about it — it may have been done before they bought the house.
The repair, step by step
We emptied and disassembled the refrigerator section, removed the old evaporator — a large finned coil — and cleaned the whole compartment.
We installed a new genuine Sub-Zero evaporator kit (part 4204420, for models 611/632/690), brazing it into the system together with a new capillary tube.
We also installed a new thermostat with a new sensing bulb and reconnected it to the front control dial, so the customer can adjust the temperature again.
Next we pulled a deep vacuum on the system. This removes moisture and air — air is a gas too — so the refrigerant goes into a clean system with nothing mixed in. After reaching the required vacuum level, we charged the system with refrigerant.
Result
After charging, we checked that the system was operating properly, then reassembled and closed everything up. The refrigerator section cools again and responds to the dial.
The total for this job, including all parts and labor, was about $2,600 at the time. For sealed-system restorations like this one we give about a 1-year warranty.
Photos from this repair
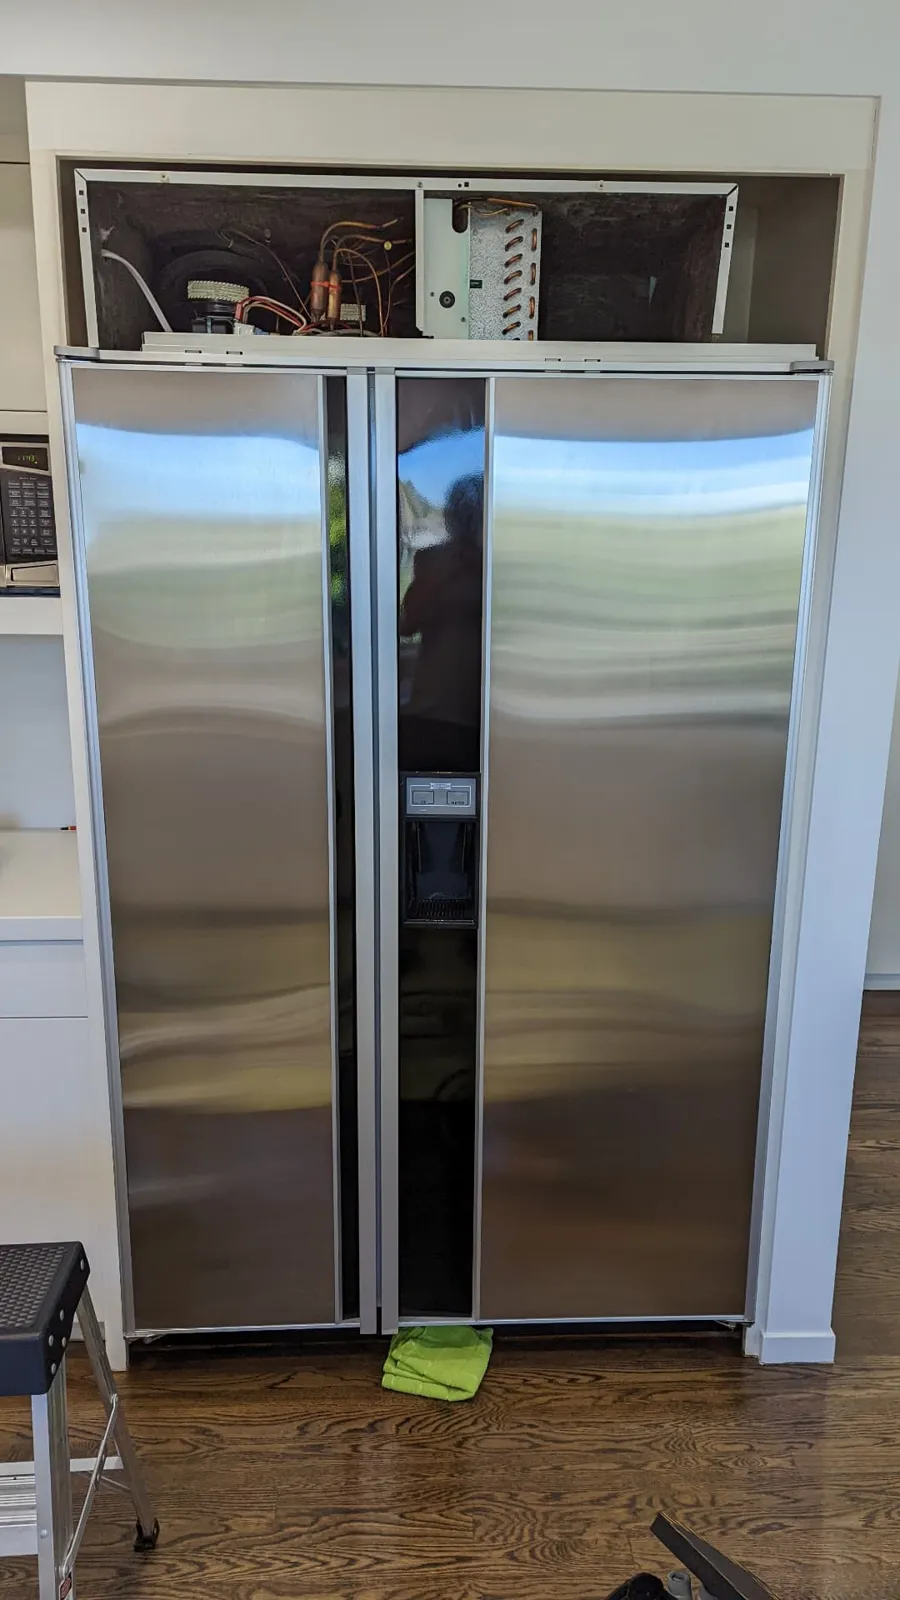
The Sub-Zero 690 with the top machine compartment open. 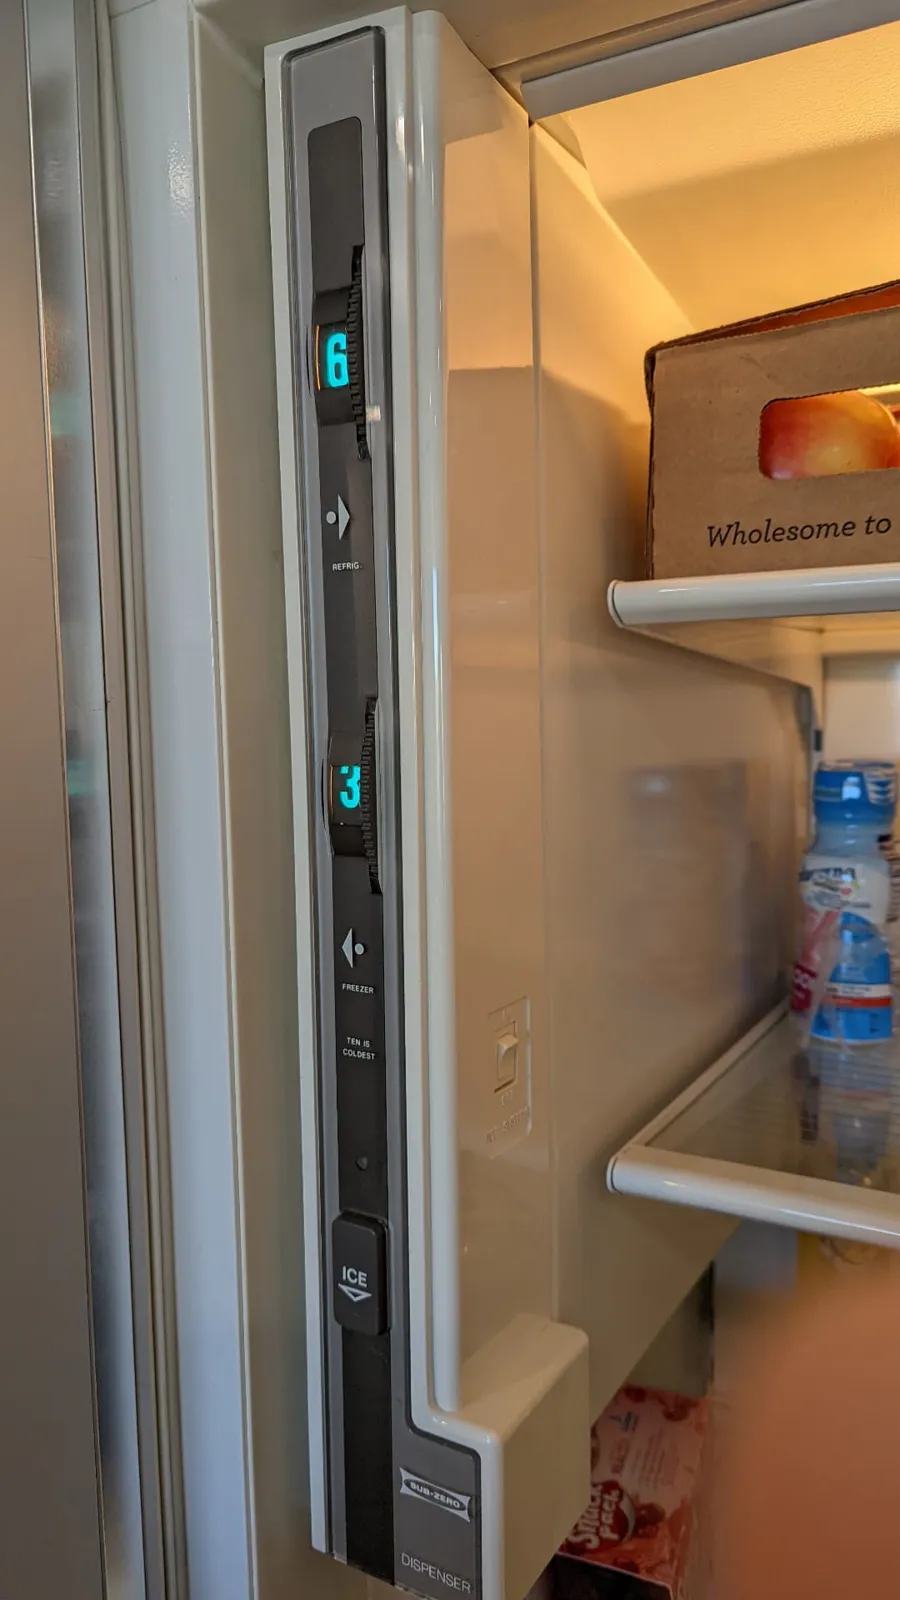
The front temperature dials — the refrigerator dial was not connected. 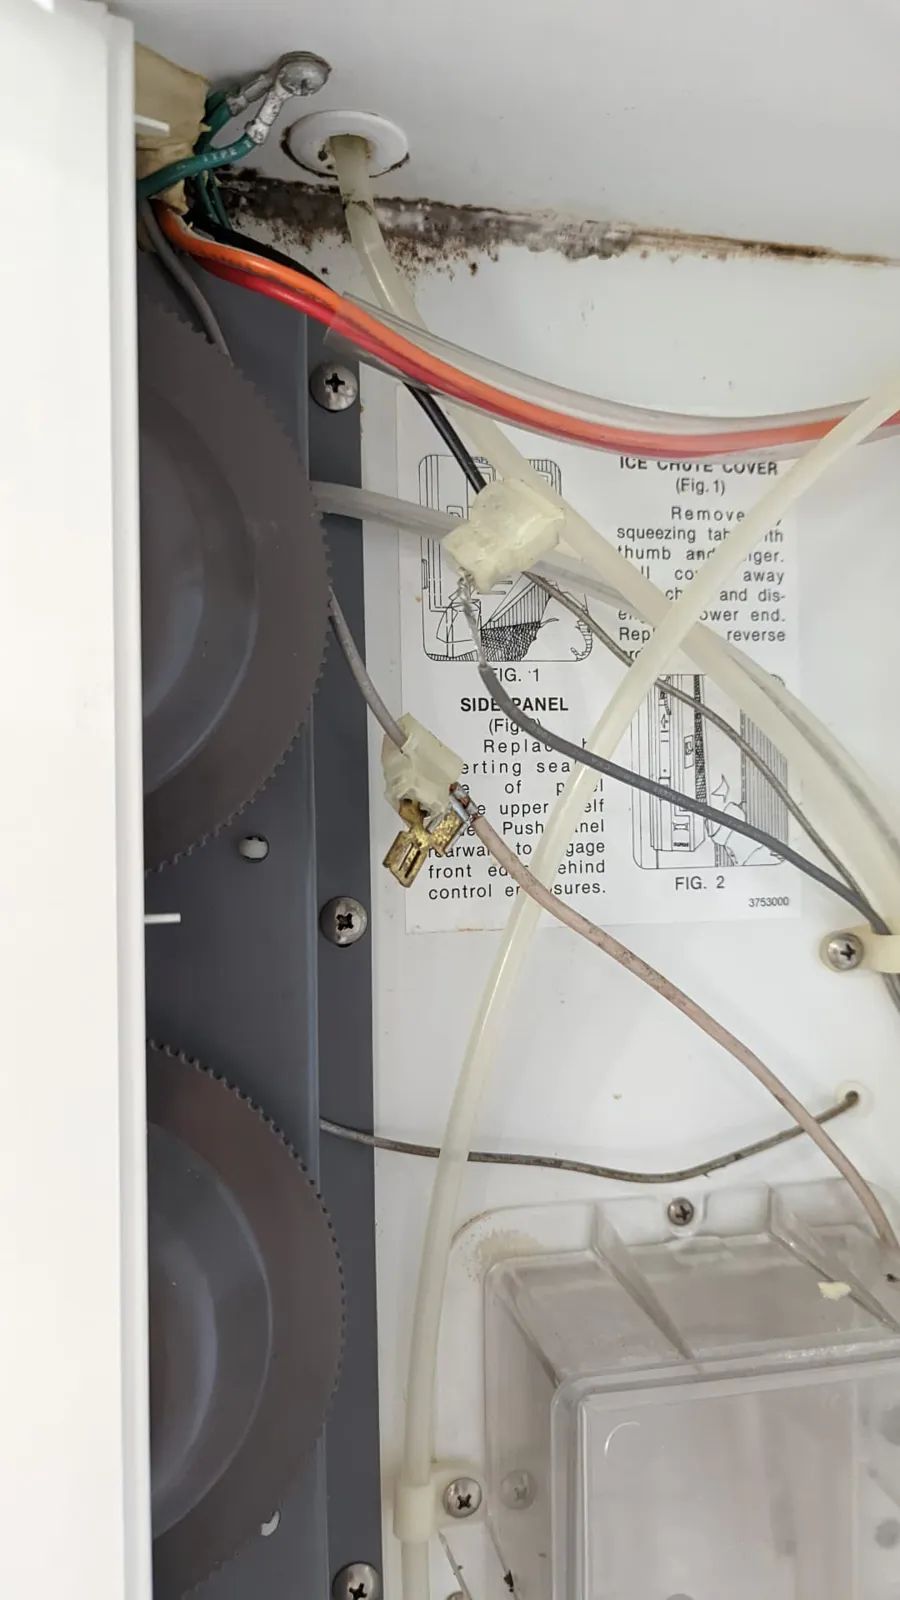
A previous repair bypassed the original thermostat with taped wiring. 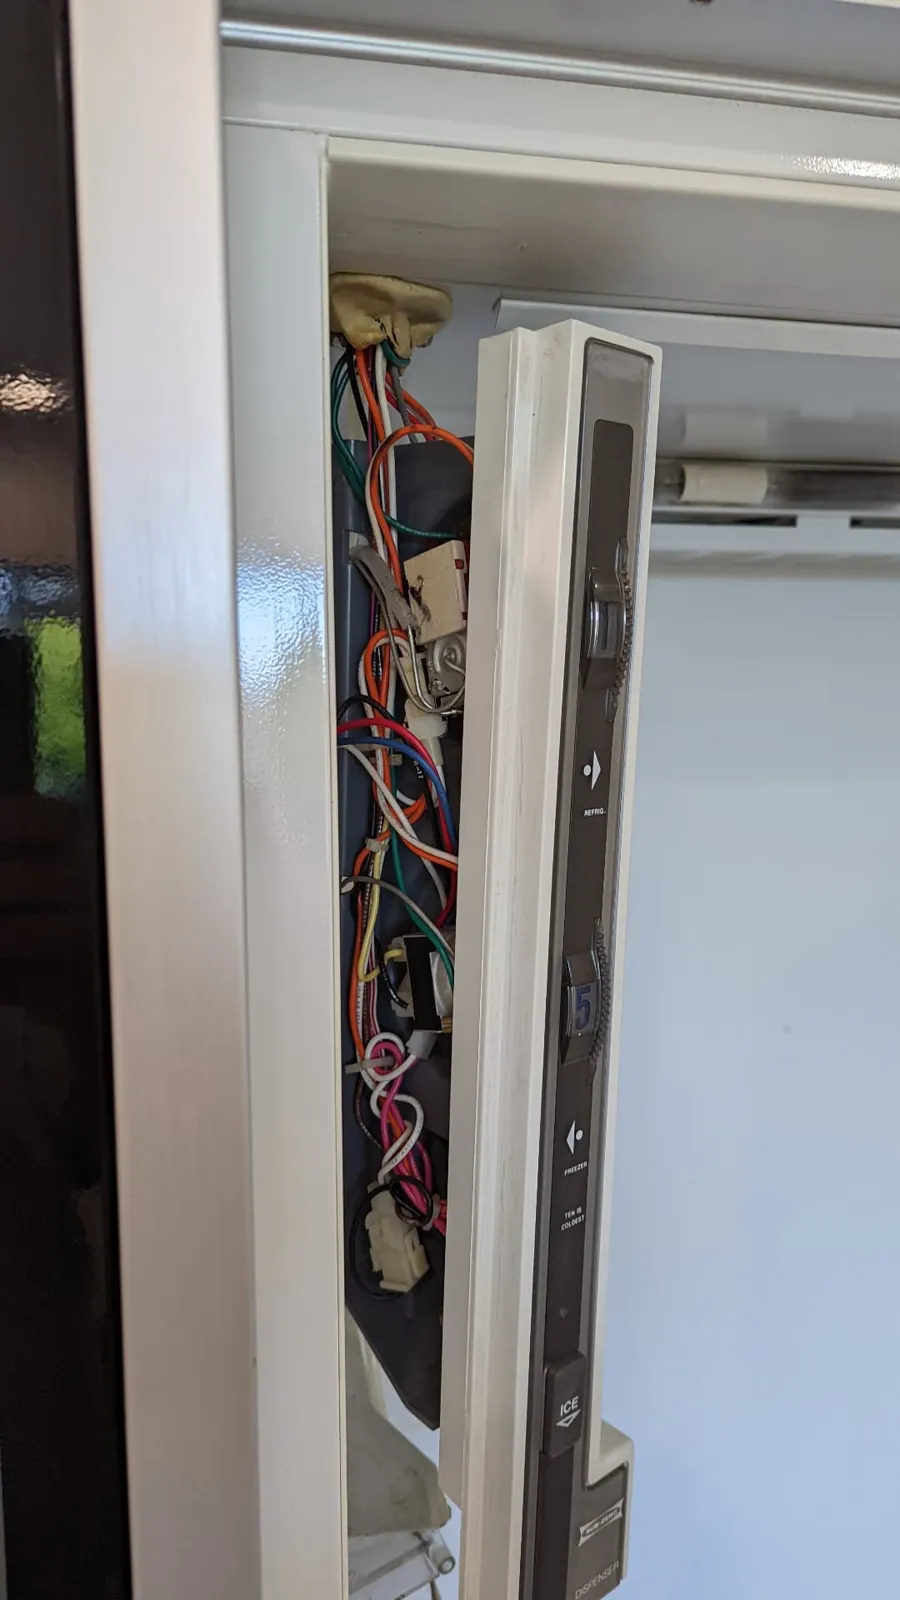
Control housing opened for inspection. 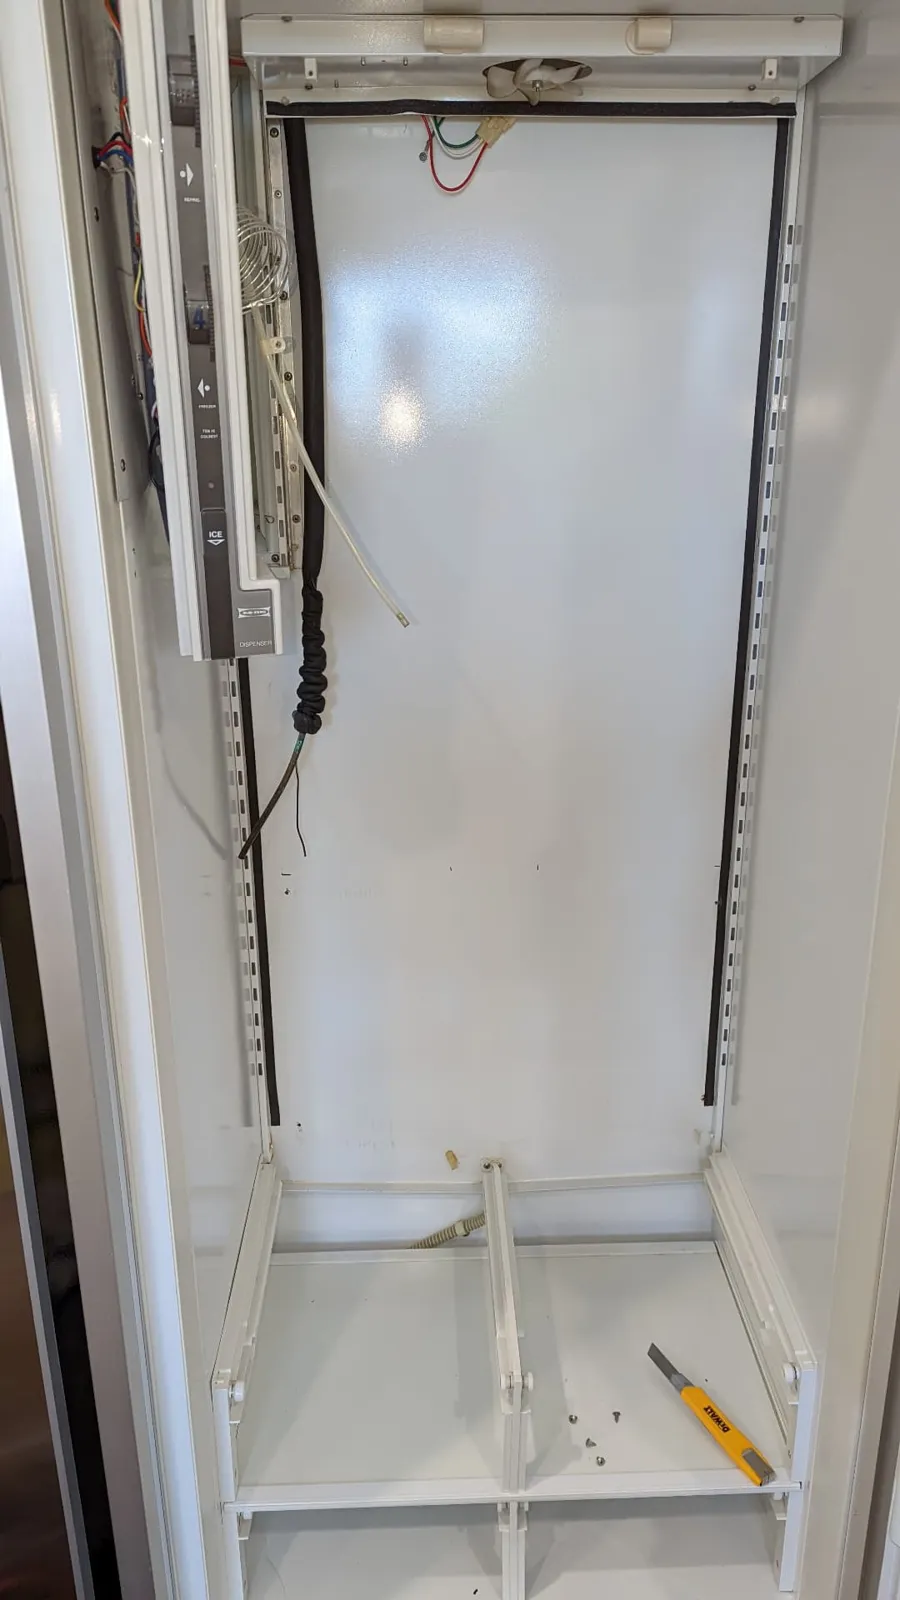
Compartment emptied and cleaned, old evaporator removed. 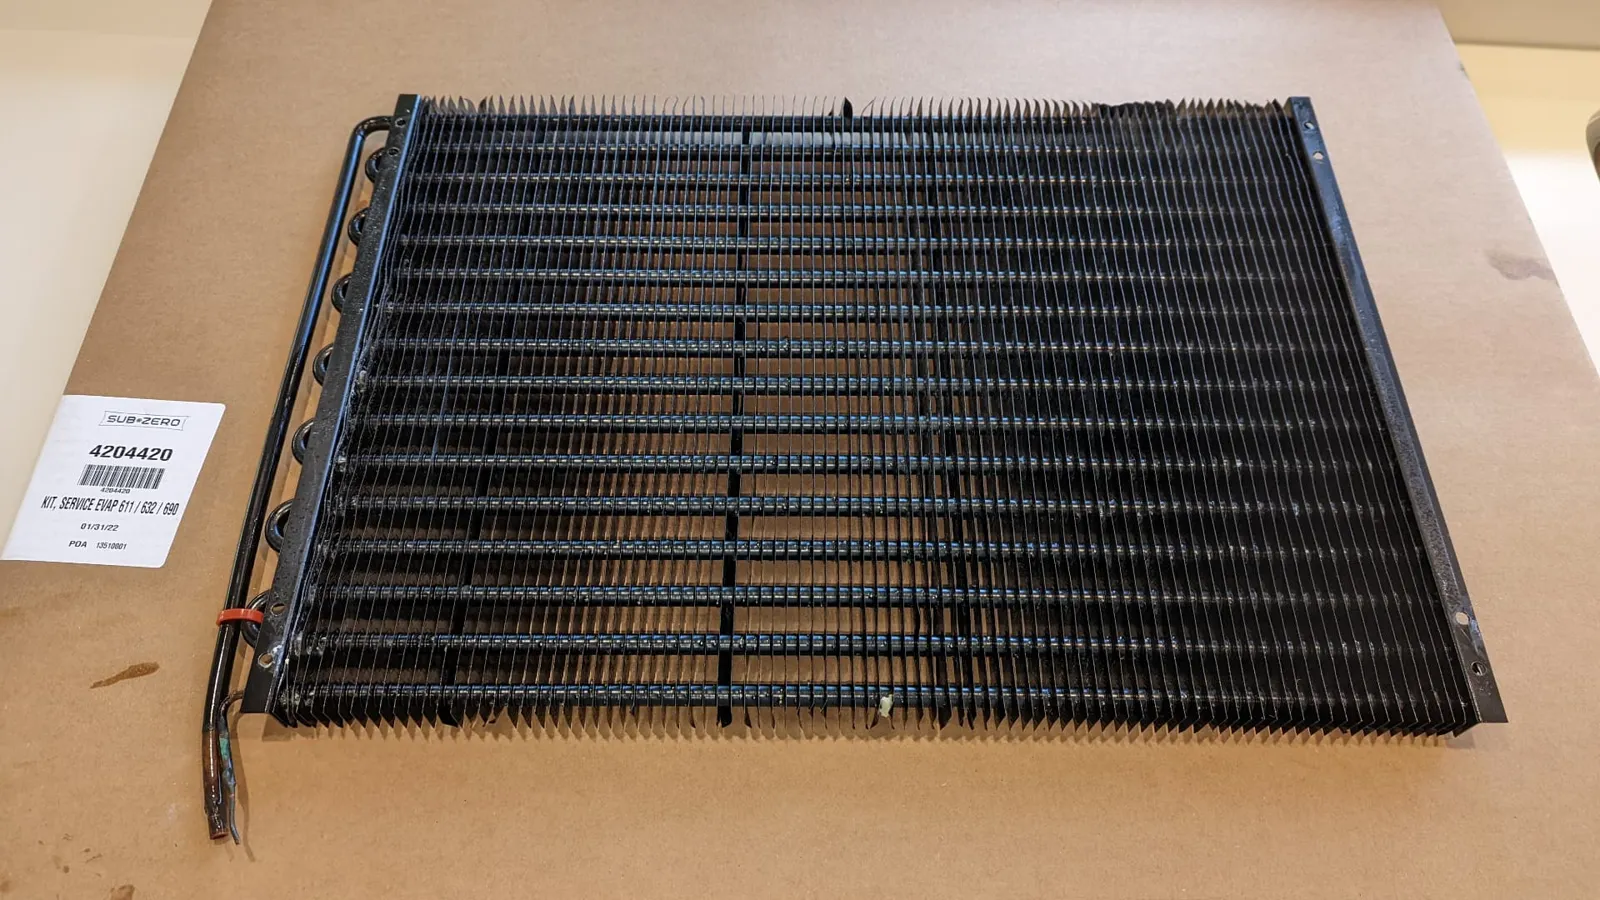
Genuine Sub-Zero evaporator kit 4204420. 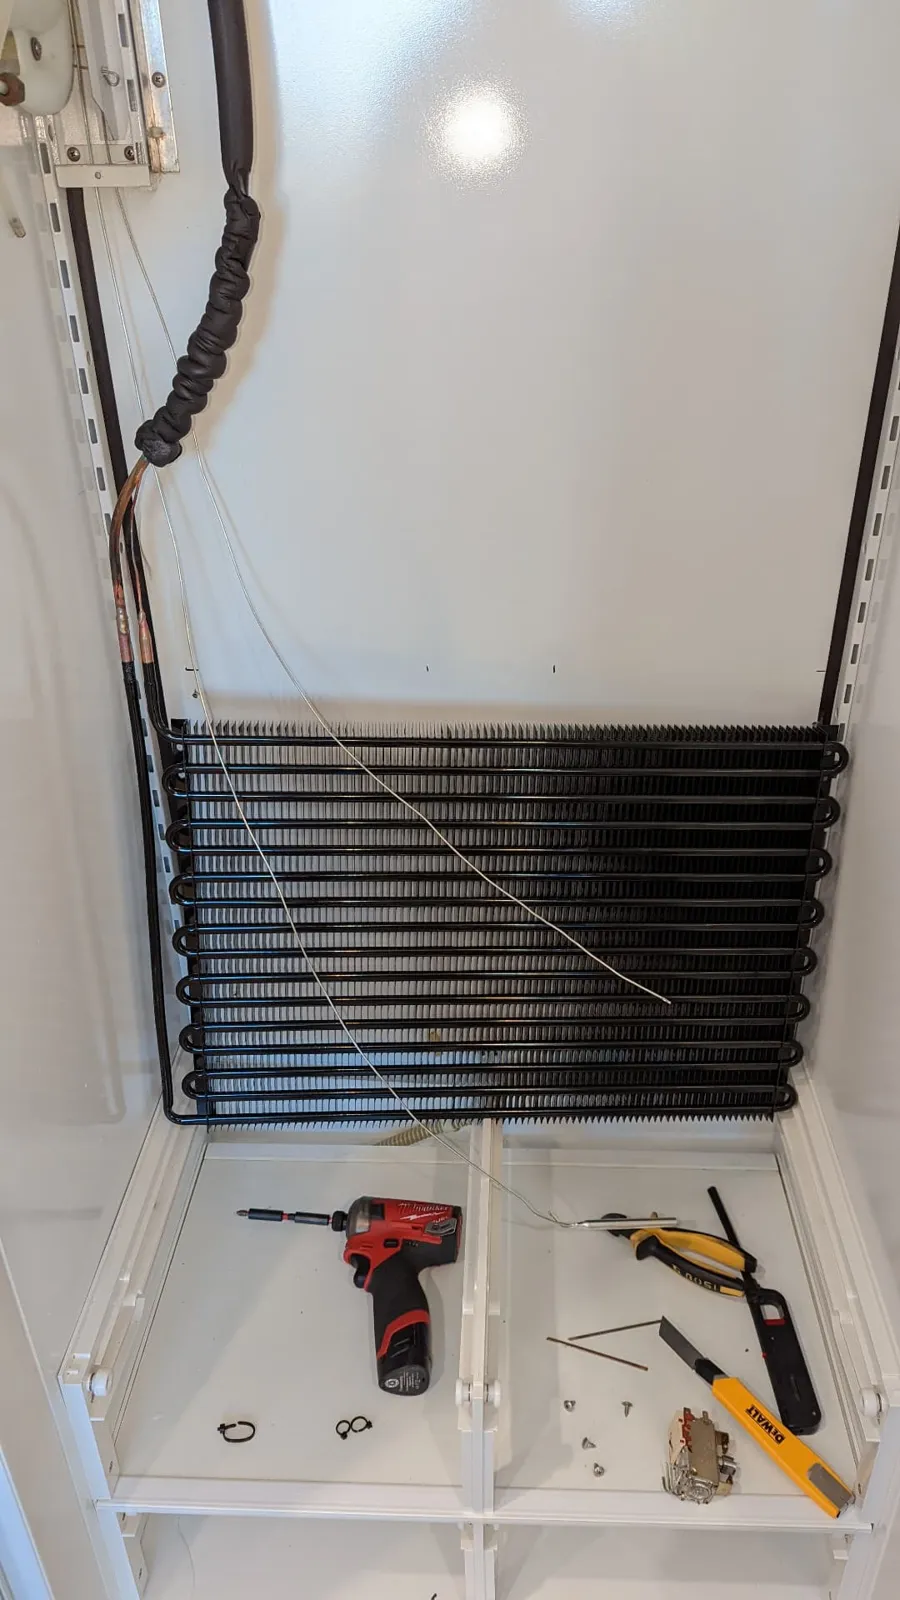
New evaporator installed, with the new thermostat bulb. 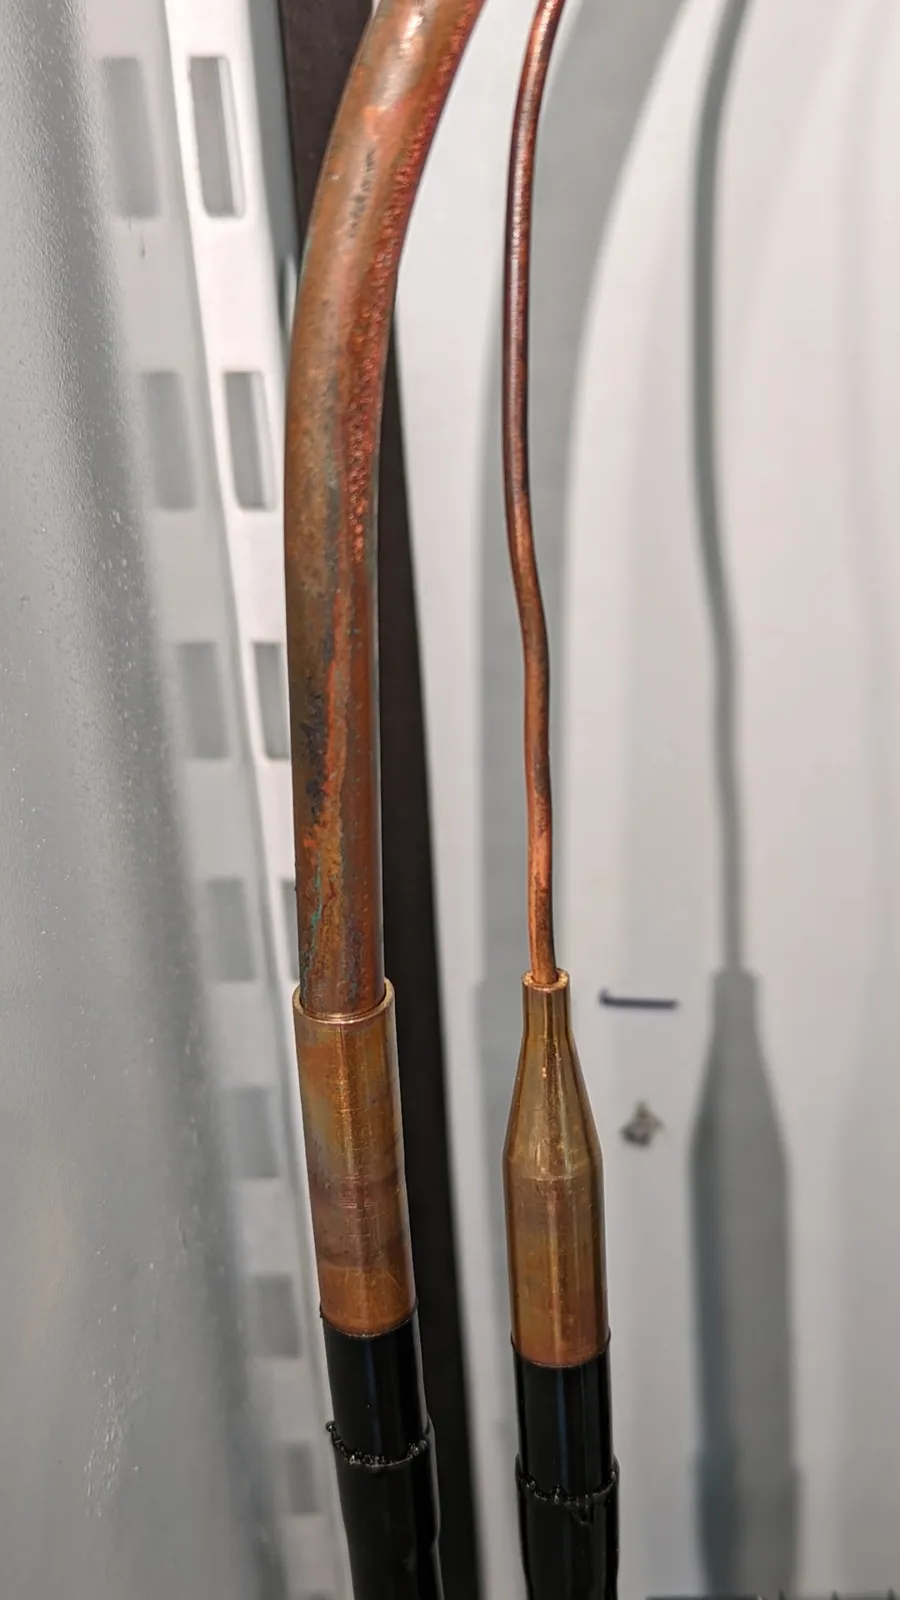
Suction line and capillary tube fittings before brazing. 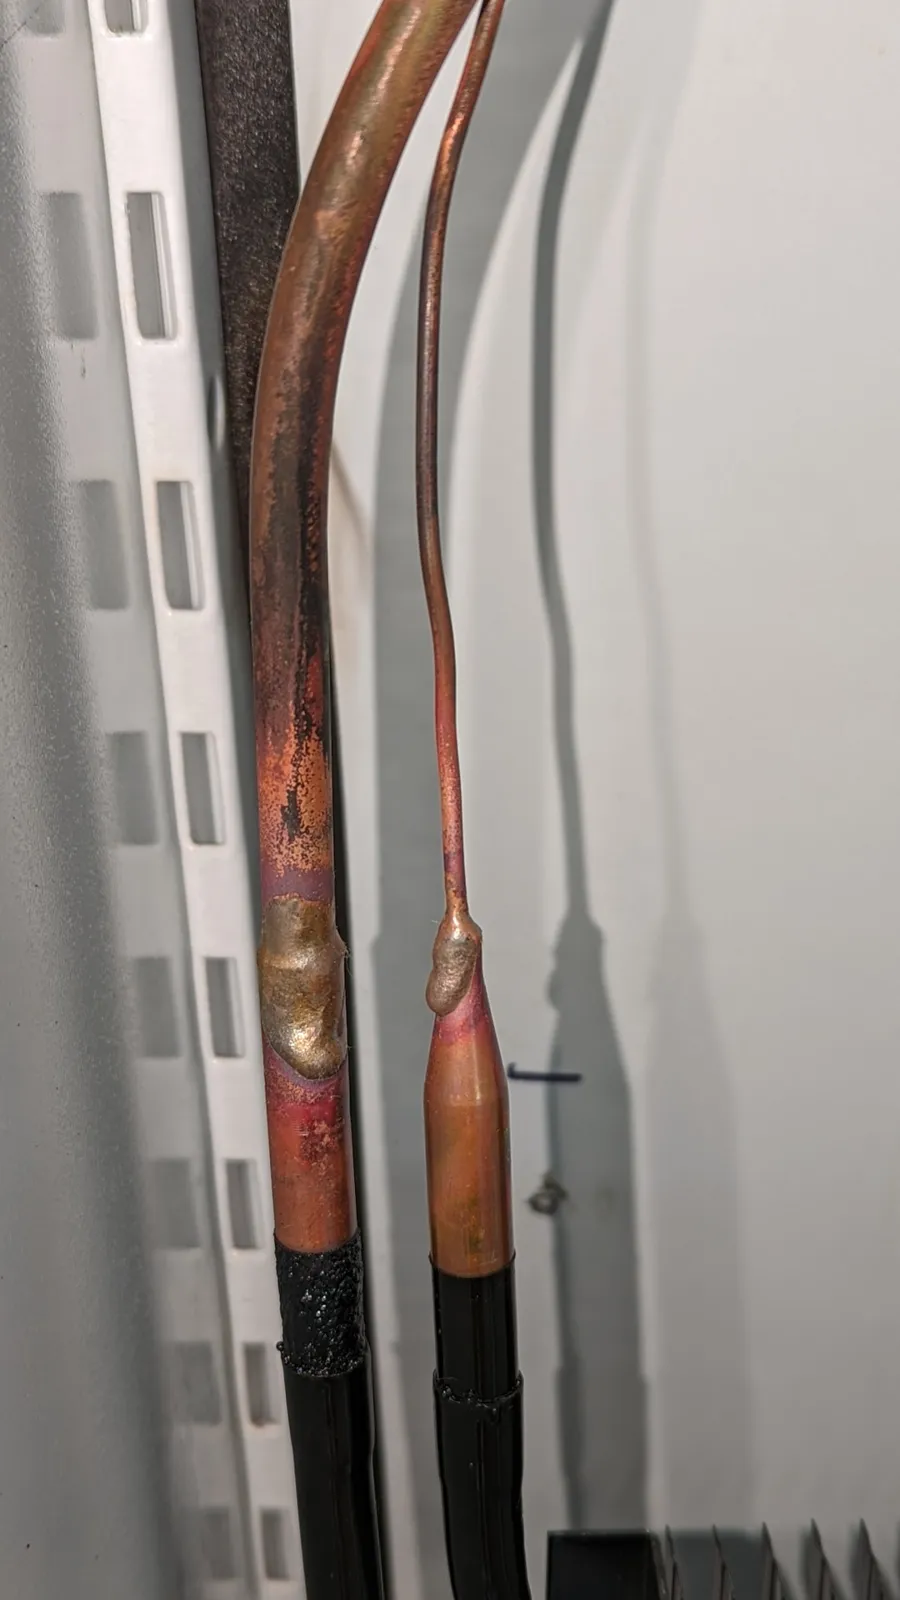
Finished brazed joints. 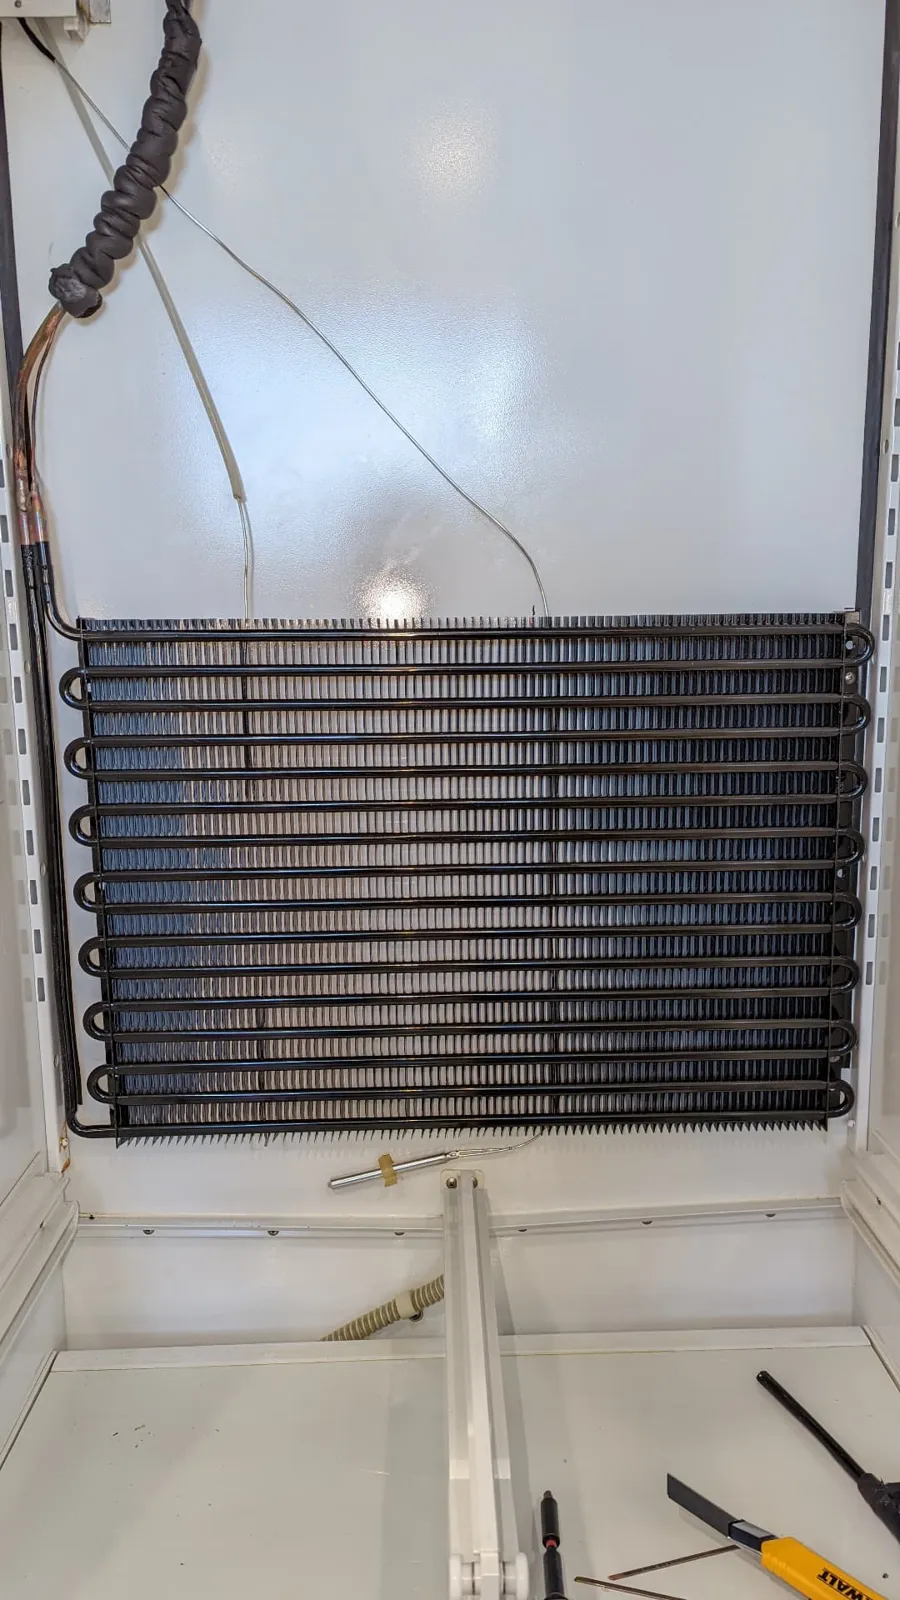
New evaporator and thermostat sensing bulb in place. 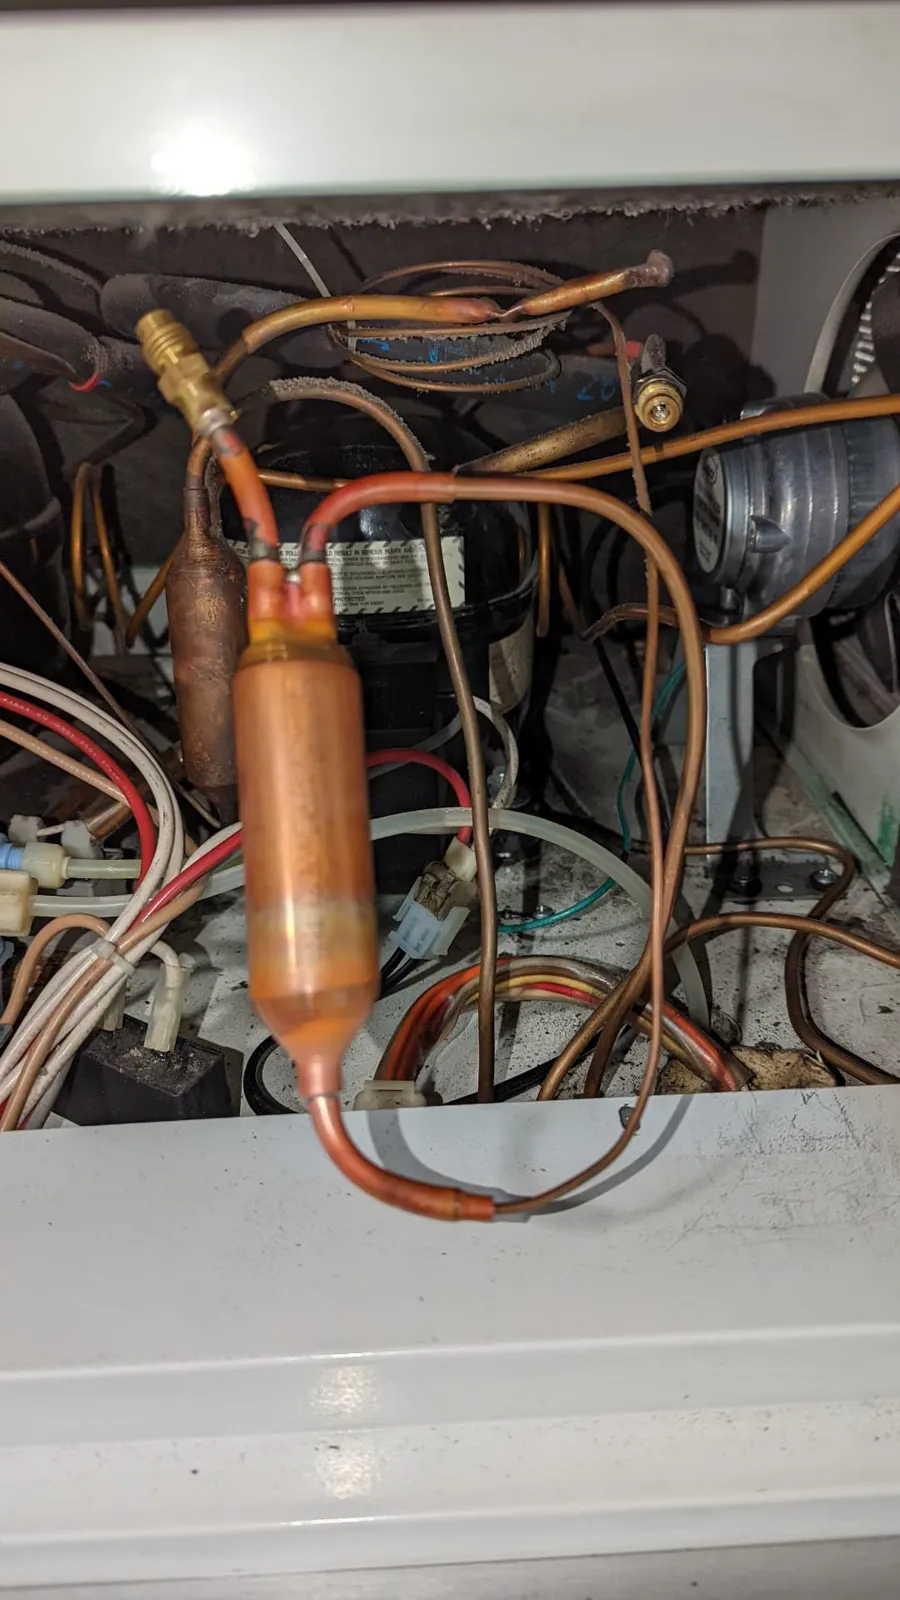
New filter drier in the machine compartment. 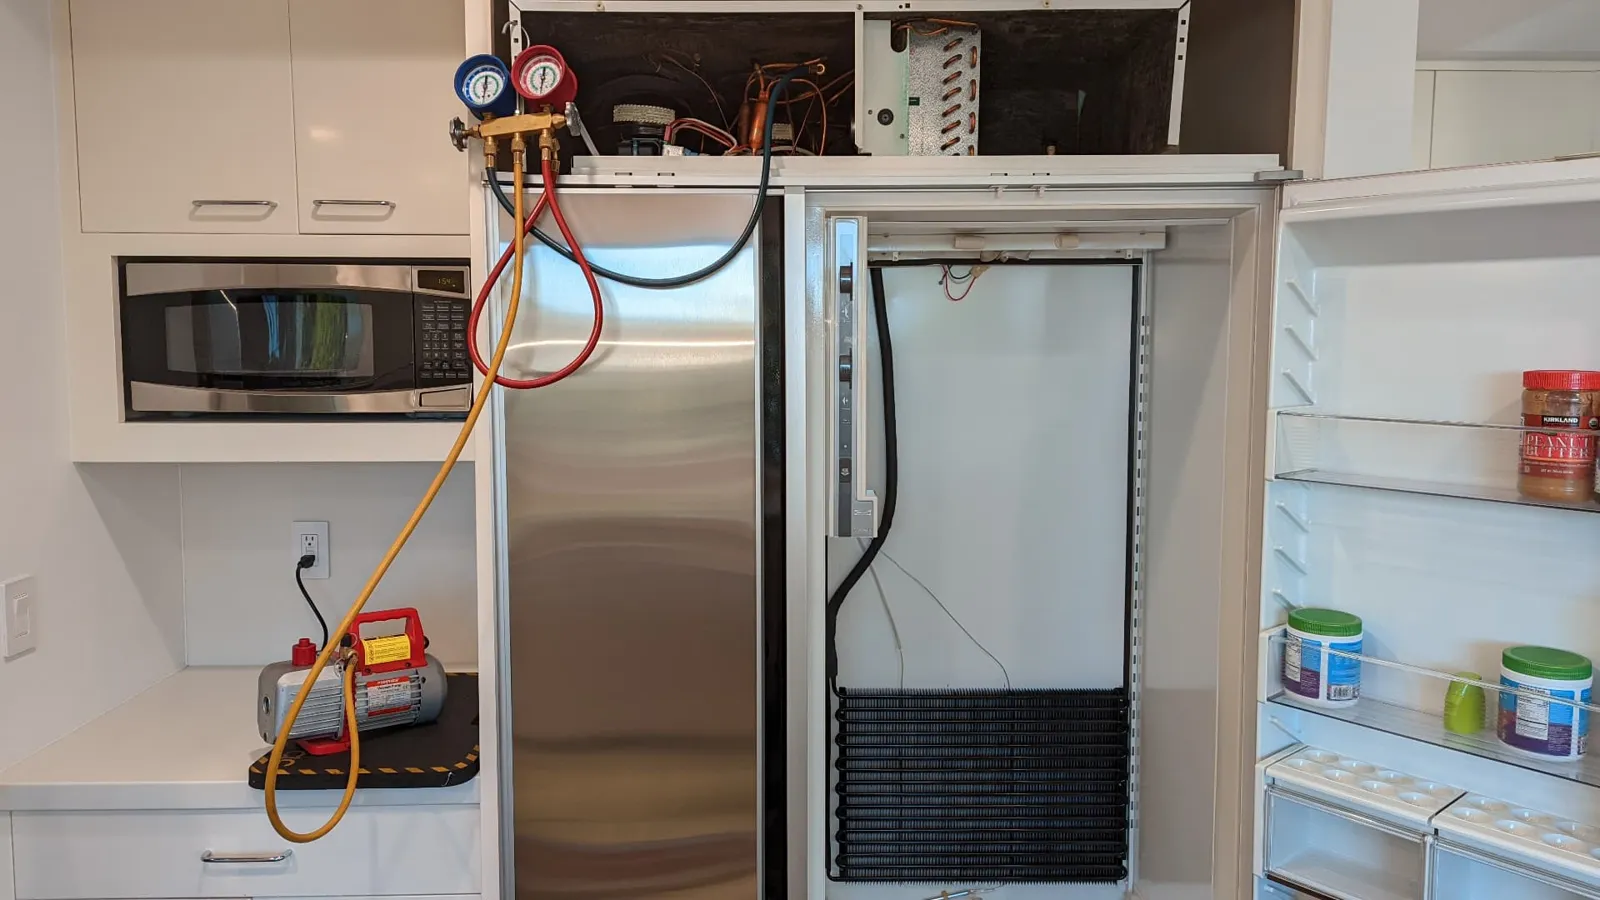
Pulling a deep vacuum before charging refrigerant. 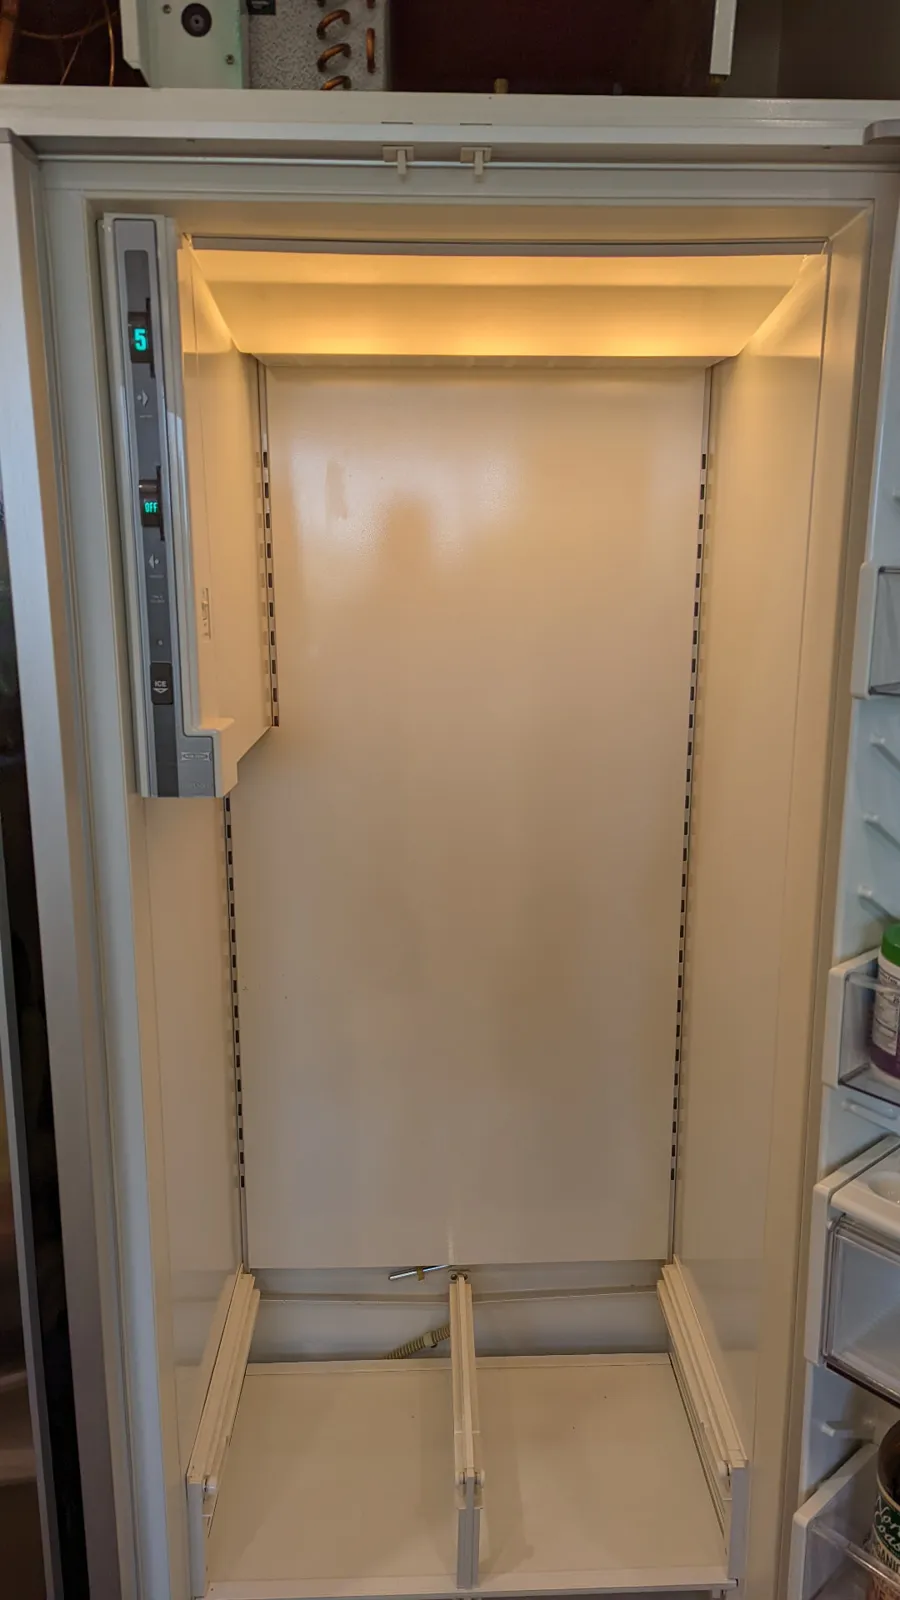
Reassembled and cooling again.
Need Sub-Zero refrigerator repair?
$85 diagnostic applied to the repair. Serving San Jose, San Francisco & the Bay Area.